
Bypass Starlink’s CGNAT with NoPorts
Get Secure Remote Access to Your Devices
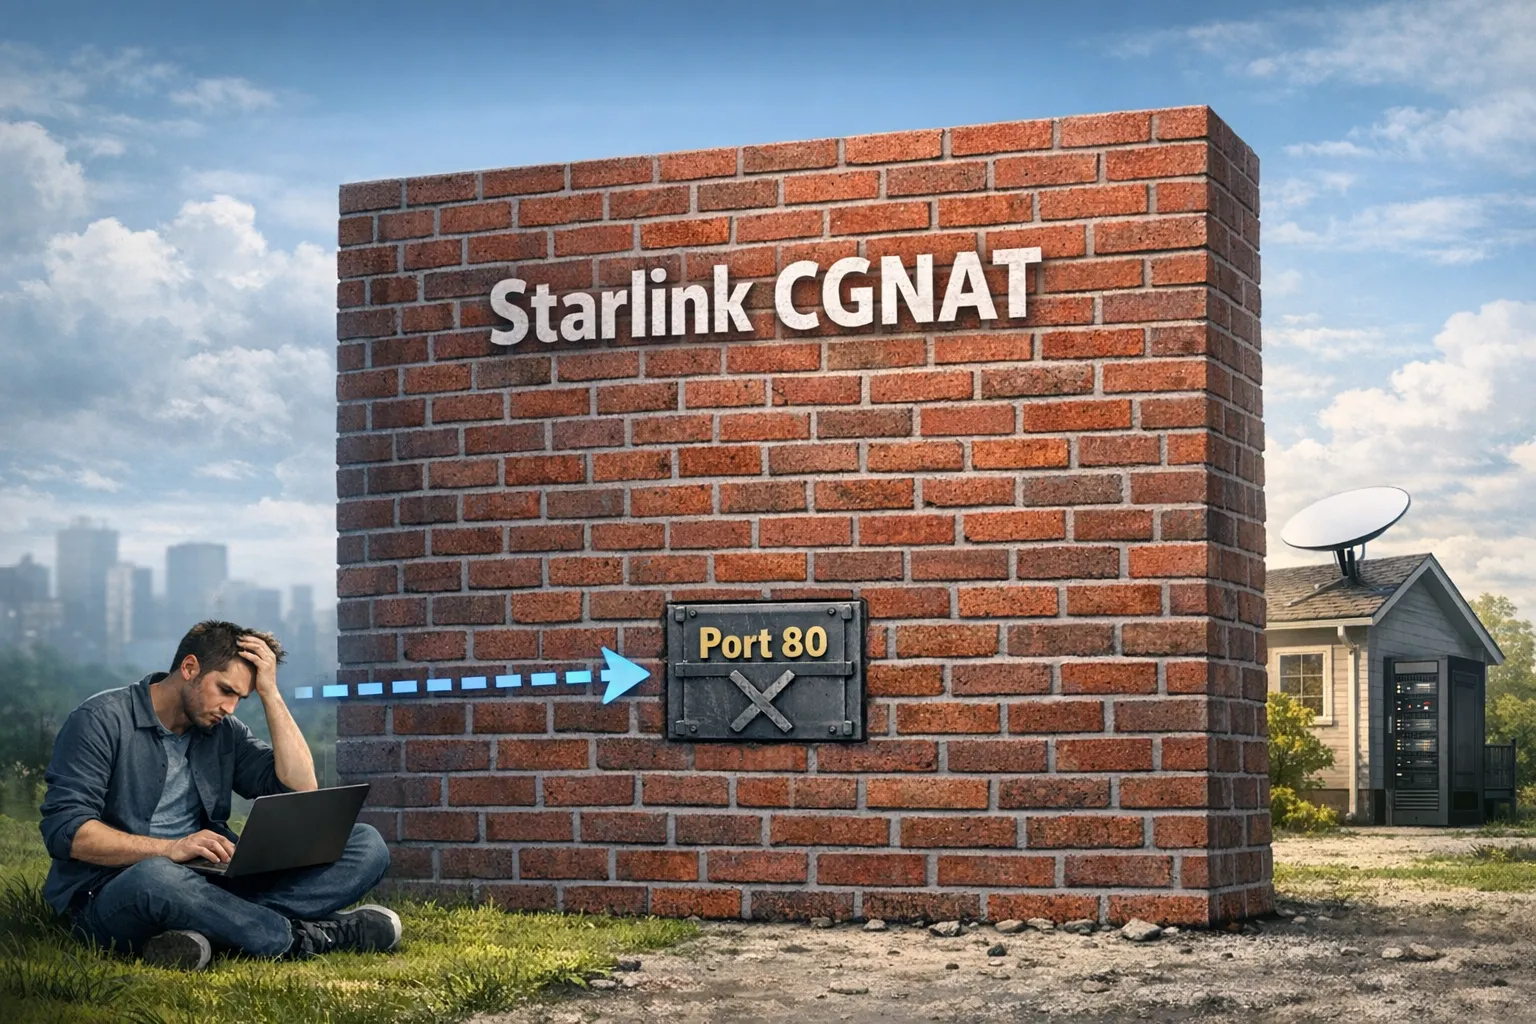
Starlink provides incredible internet access to remote locations, but its use of Carrier-Grade NAT (CGNAT) makes traditional inbound connections, like those needed for remote desktop, home labs, or security cameras, nearly impossible. NoPorts offers a simple and secure solution.
Why Port Forwarding Is Almost Impossible with Starlink
The core issue is that Starlink, for most residential plans, utilizes Carrier-Grade NAT (CGNAT), a technique where many customers share a single public IPv4 address. This means your Starlink dish and router are assigned a shared IP address at the network level. Because you don't have a unique public IP, any attempt at Port forwarding is blocked by Starlink's system, preventing you from being addressed directly from the internet. The result is that you cannot host services, use Remote Desktop (RDP), or access your home server from outside your network.
Leveraging Zero Trust and Outbound Tunnels with NoPorts
NoPorts completely bypasses the CGNAT barrier by using a secure, outbound-initiated tunnel, eliminating the need for open ports or a public IP address.
How to bypass Starlink’s CGNAT with NoPorts:
- Install Daemon: Install the lightweight NoPorts daemon on the device you want to access remotely (e.g., your server, Raspberry Pi, or Synology NAS) that is connected behind the Starlink dish. See docs for detailed installation instructions.
- Install Client: Install the NoPorts client on your remote access device (your laptop, phone, etc.)
- Connect & Access: Use the NoPorts client to connect to your server via its unique @atSign. The platform securely routes the connection through an outbound tunnel, bypassing Starlink's CGNAT.
Watch this video showing how our Co-Founder and CTO, Colin Constable accesses his home setup with NoPorts.
Starlink Remote Access Use Cases for NoPorts
NoPorts Remote Access over


Ready to Securely Access Your Devices?
Startlink + NoPorts FAQs
Why can't I remotely access my devices on Starlink?
Carrier-Grade NAT (CGNAT) is like an apartment building mailroom. Starlink gives one public IP address to hundreds of users; without a unique "apartment number" (a public IP), the internet doesn't know how to find your specific router. NoPorts solves this by having your device "call out" to our relay, creating a private path back in that doesn't rely on Starlink’s addressing.
Do I need special hardware or a Starlink Ethernet Adapter for remote access?
No. Unlike traditional port forwarding or VPN hosting which often requires "Bypass Mode" and custom hardware, NoPorts works entirely in software. As long as your device has an internet connection, NoPorts can establish a secure tunnel.
Does NoPorts work with Starlink Roam , Mini, and Maritime?
Yes. Whether you are at a fixed residence, in an RV, or at sea, NoPorts is "location agnostic." Because it uses atSigns instead of IP addresses, your connection remains stable even as your dish moves between satellite cells or switches ground stations.
How do I SSH into my home server through Starlink?
NoPorts creates a secure SSH tunnel without requiring port 22 to be open or exposed. Simply install the NoPorts daemon on your home server, authenticate with your atSign, and you can SSH from anywhere—even though Starlink blocks traditional inbound connections through CGNAT.
Can I access my NAS (Synology, QNAP) remotely over Starlink?
Absolutely. NoPorts supports file sharing protocols and web interfaces, letting you access your NAS from anywhere without paying for a static IP or dealing with complex DDNS configurations. Your NAS remains completely invisible to port scanners while you maintain full access.
What's the difference between NoPorts and a VPN?
A VPN creates a secure "tunnel" while NoPorts is a Zero Trust solution. Traditional VPNs often give a person access to an entire network; NoPorts allows you to grant access to specific applications or devices, significantly reducing your attack surface.
Does NoPorts add latency to my Starlink connection?
No. Because Starlink already has variable latency due to satellite handoffs, NoPorts is designed to be lightweight. It uses efficient outbound streams that add negligible overhead, making it suitable for high-bandwidth tasks like streaming security camera feeds or using Remote Desktop (RDP).
What happens if my Starlink IP address changes?
Nothing! Starlink rotates IP addresses frequently. Since NoPorts doesn't use your IP address to route traffic (it uses your unique cryptographic atSign), your connection will automatically reconnect and remain reachable without any manual updates or Dynamic DNS (DDNS).
What devices and operating systems support NoPorts?
You can install the NoPorts daemon on almost any device sitting behind your Starlink dish, including:
- Windows, macOS, and Linux PCs
- Raspberry Pi (ideal for a low-power "gateway" device)
- Synology or QNAP NAS units (via Docker)
- Virtual Machines
How does NoPorts work without opening ports on my firewall?
NoPorts ensures truly zero open ports because the connection is outbound-initiated. Your device behind the Starlink dish reaches out to the NoPorts cloud relay, creating a secure, authenticated tunnel. This means there is no "listening" port exposed to the public internet for hackers to find, making your connection invisible to port scanners. The connection is only established when your authorized client requests it.
How long does it take to set up NoPorts?
Most users are up and running in under 15 minutes. You'll install the daemon on your target device, register your atSign, and authenticate your client. No firewall configuration, no port forwarding rules, no router changes needed.
Can I use Remote Desktop (RDP) through Starlink with NoPorts?
Yes. NoPorts fully supports RDP connections, making it perfect for accessing Windows machines remotely. Since there are no open ports, your RDP session is invisible to attackers while remaining accessible to you from anywhere with internet.
Sign up for our newsletter


NoPorts, developed by Atsign with our open-source SDK, represents the next generation of Internet technology—focused on simplicity, security, and privacy. For inquiries or feedback, please contact us.


